Need better lighting for nighttime in your own backyard?
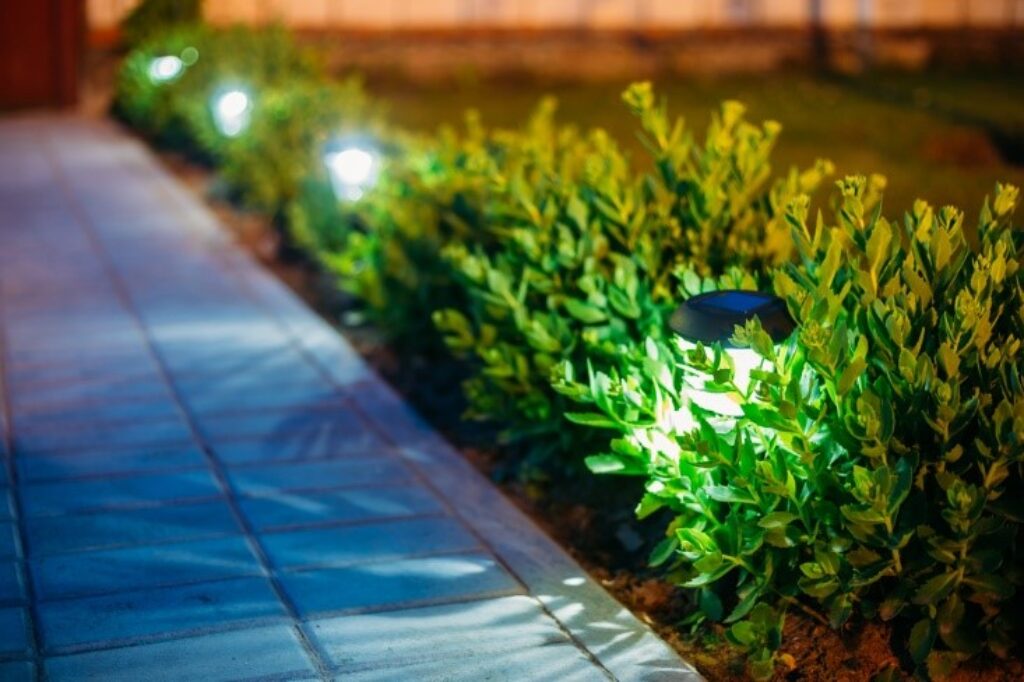
If you’re searching for garden thoughts on a budget, you can not go wrong with outdoor solar lights, especially in the event you will need to illuminate a path or walkway, or if you wish to draw attention to a garden feature during the night. Solar lights for your lawn are inexpensive and simple to install. Take time to look at where you would like to place your lights and make sure to double check that the lights are billed before placing them in the soil.
Follow these tips to ensure your new solar lighting function at their best:
Place Solar Lights Carefully
The most important point to consider when installing outdoor solar lights in your yard is positioning. If you are lighting a path, you will want to set the lights fairly close together so that it’s easy to see where the walkway is, particularly if it’s winding. If you wish to light up a garden feature, you will want to set the lights close enough to it that they throw an acceptable quantity of light on the characteristic in question.
You also need to consider whether the positioning of your lights could pose a barrier to maintenance or to utilizing your yard. You don’t wish to set your lights where they will be tricky to mow around or where you’re run over them with your vehicle. You also don’t want your children tripping over the lights while they are playing outdoors during the day. Place them where they’re clearly visible and where they will not get in the way. It can be useful to draw out a plan of where you wish to install your lights ahead.
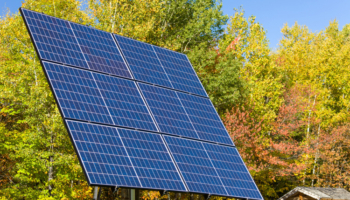
Needless to say, solar lights require sunlight to operate, so you will also want to be sure yours get the most amount of direct sunlight every day. If you are installing lights which have a different solar panel, set the panel in a sunny site. You might want to enclose the wires in a plastic tube for additional protection. That way, you will be less likely to accidentally cut them while digging. Ensure that there aren’t any leaves or branches hanging over your lights or your solar panel, and maintain neighboring plants cut back.
Charge Your Solar Lights First
Before installing your solar lights, charge them . All your new outdoor lighting fixtures will require at least 12 to 14 hours of sun to fully charge before you can install them. You may control the new lights within a period of 2 days, if needed. Leave them outside in a sunny place so the batteries are fully powered until you install your new lights.
Prepare the Soil
Most outdoor solar lights come on bets which may be placed into the ground. If you are installing a pair of lights which includes its own solar panel, you will need to do more digging, and you might be more restricted in where you can put them since the solar panel will have to be in a sunny place.
Installing new solar lights in garden beds might not need any particular soil preparation. If the soil in which you want to set up your lights is hard and compacted, then you ought to prepare the ground first because the stakes attached to the lights might not be powerful enough to penetrate the soil. Prepare the ground by watering it completely to soften it up. Do this where you would like to set the lights and also to prepare the ground for any grinding you might need to do to bury cables or set up a solar panel.
When installing your lighting, remember to not force the stakes into the ground. If you push too hard and the floor hasn’t been prepared adequately, you can break your new lights.
Installing solar lights out can be a cheap and easy upgrade to your outside space. They can add more light where it is needed, accent your preferred landscaping features, and since they’re powered by sunlight, they require no power and very little maintenance.